Showing posts with label gift wrap. Show all posts

ECO CHRISTMAS WRAPPING

 "Eco" gift wrapping is the idea of reusing/repurposing containers or wraps so as not to purchase new, which creates excess waste. Or, using wrappings and containers that can be reused after by the recipient, whereby again not creating excess waste. In itself, these are great reasons to adopt this idea! However, I also love the idea of whomever I am gifting to basically receiving an extra gift in the wrapping!

BELOW, I HAVE ROUNDED UP INSPIRATION TO GET YOU STARTED!

Christmas cookies stacked in reusable glass storage containers with wood lids and embellished with natural ribbon, a greenery sprig, and homemade gingerbread cookies cut into star shapes. 

 eco gift wrap w/ homemade Christmas cookies stacked in reusable glass storage containers with wood lids

Some sources for glass storage jars topped with wood lids: 1 / 2 / 3
glass storage jars with wood lidsWeck jars with wood lidsglass storage jar with beech wood lid

Furoshiki are a type of traditional Japanese wrapping cloth to transport clothes, gifts, or other goods. This beautiful wrap has been widely adopted with the eco movement because the cloth can be reused later to dry dishes or wrap future gifts. And, the texture and the knot created when wrapping creates such a beautiful display! Natural fabric like linen can also be dyed as shown in this tutorial, creating the most beautiful neutrals and washed colors!

hand dyed linen for furoshiki gift wrap

The most common way to wrap is by knotting different corners of the fabric, however, a the fabric can also be folded similar to how you would wrap a tradition present, which is what this beautiful representation shows. The handmade flower topper would be sure to be displayed later in the recipients home!

neutral linen furoshiki wrapping with handmade flower topper

These muslin drawstring bags either drawn or stamped with Christmas images and words feel so Scandinavian! 

natural muslin drawstring bags stamped or drawn with Christmas images for eco gift wrap

A source for muslin drawstring bags here. 

Pick up vintage cookie tins all year round when in your favorite thrift store or while perusing garage sales so you have them handy when a gift wrapping need arises! I especially like the plaid Scotland-made tartanware containers!

eco gift wrap in vintage cookie tins

Don't pass up vintage cookie tins without the best of images! They can be spray painted solid colors or neutrals and embellished with pretty toppers. Or (who would have thought!)...decorated with pasta shapes in pretty patterns! 

vintage metal cookie tins spray painted and decorated with pasta shapes

Using what you already have on hand, instead of buying new, is a good way to keep your gift wrap eco! Kraft lunch bags are turned into the cutest gingerbread house gift bags by drawing on them with white paint markers or puff paint. 

gingerbread house gift bags made out of kraft lunch bags and white puff paint

Red & white striped bakers twine for closing up packages can be purchased here. A holiday staple for sure!

interactive gift wrap

What a great idea! Interactive gift wrap...

For the how-to's, visit Lines Across. And, for thin airmail stripe japanese washi tape like that shown in the last photo to hold the crayons to the package, visit the fort & field shop.

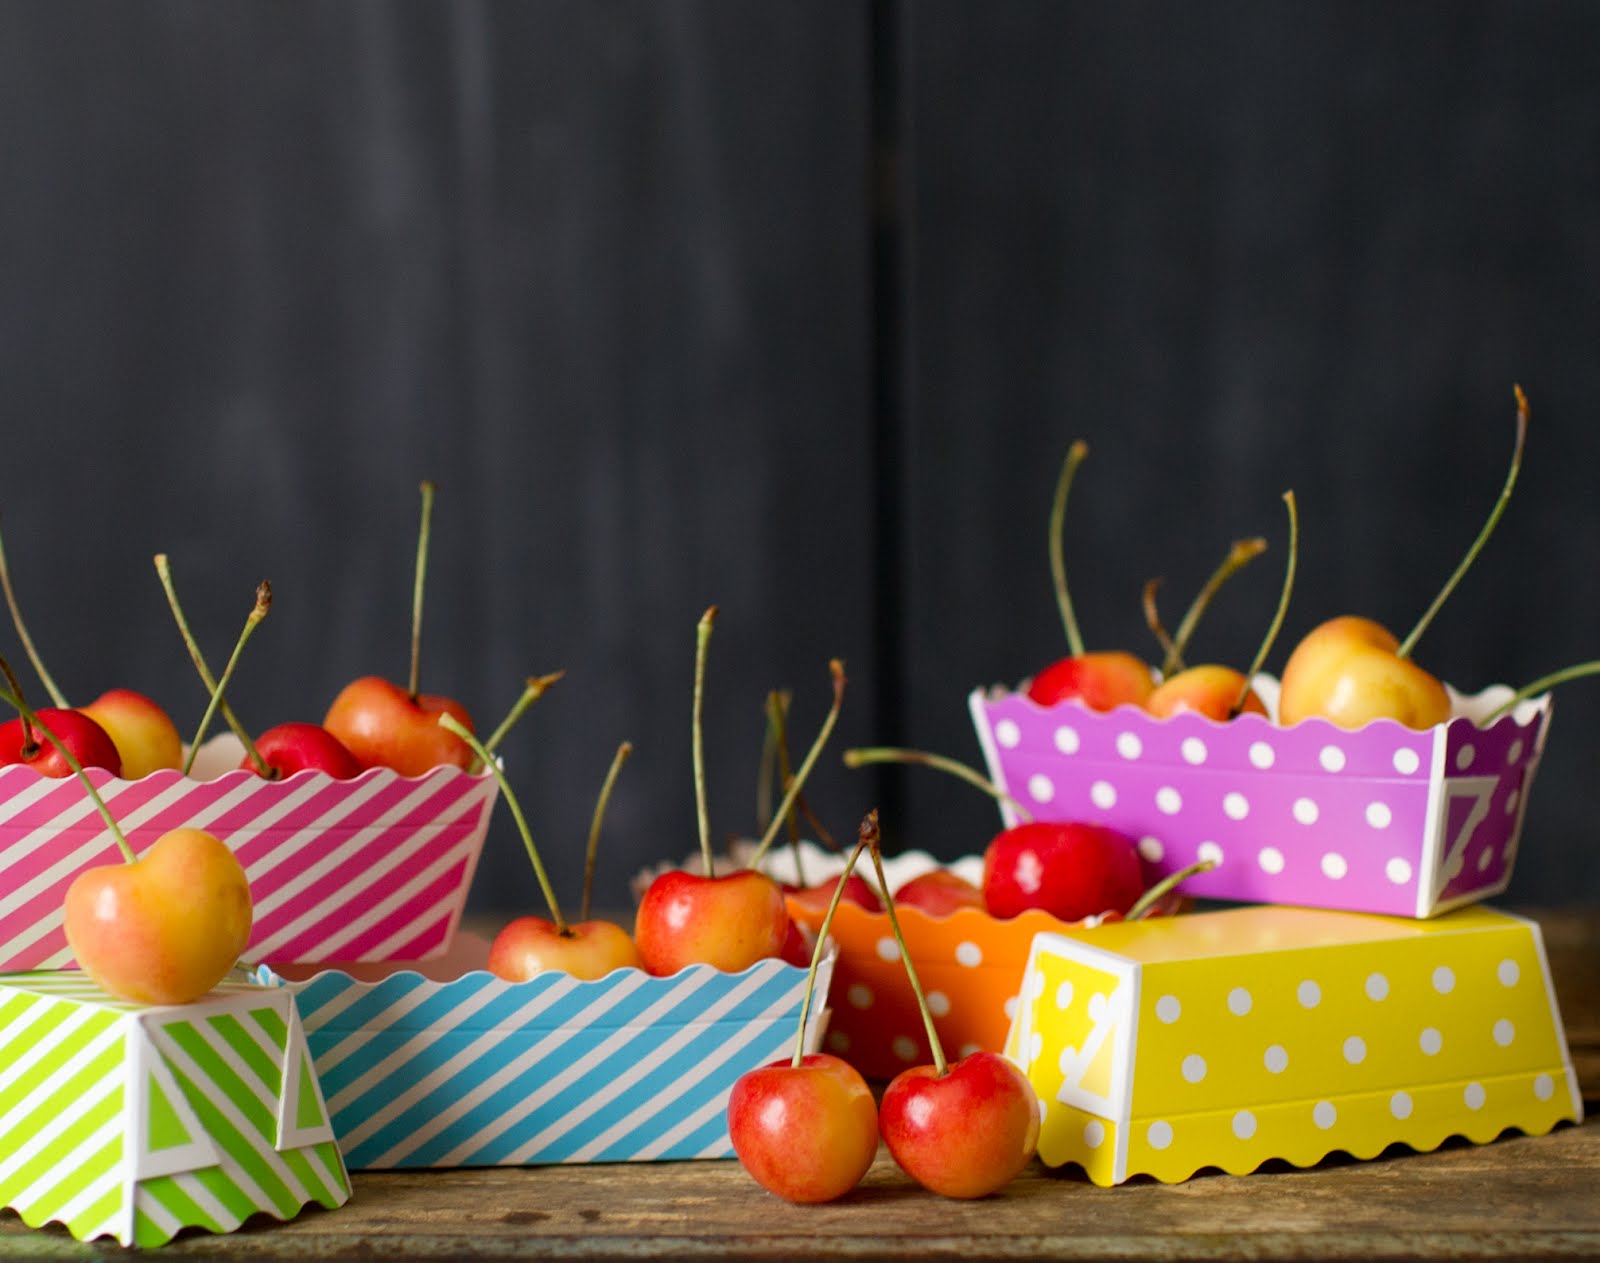
rectangular paper loaf pans


Just added to the shop...small and large rectangular paper baking loaf pans...
Disposable paper loaf pans require no pre-greasing or messy clean-ups and can be placed directly in the oven or on a cookie sheet. The decorative stripe and polka dot designs allow your baked item to go straight from the oven to table...or into someone's special hands as a gift! And, the paper loaf pans have so many more uses besides baking....serve popcorn, candies, or even a picnic lunch in the trays or use them as the base to wrap up a special gift!

photos by kellyallison photography for fort & field

polka dot favor box

Polka dots are a big trend right now in everything from fashion, home decor, and parties. Polka dot favor boxes are an easy DIY to inject polka dots when wrapping your next gift...
With a circle hand punch, make holes in a flattened 4X4X4 square bakery or gift box. Make two paper liners, one 8 by 1 7/8 inches, the other 6 by 1 7/8 inches. Score liners with a bone folder at 2-inch intervals; slip inside box to cover all sides. Tie with cording, bakers twine, or ribbon.

cupcake liner gift wrap

Flatten and layer varying sizes of paper cupcake liners (mini, standard, and jumbo) over the top edge of a paper bag affixing with decorative brads and bakers twine. Only have standard cupcake liners? Simply trim a little around the edges to get the varying sizes you need...

make your own gift or treat bags!

When I picked heart wrapping paper up around Valentines Day I knew it would become useful at some point for a craft project. It's time to shine came this weekend when I decided to try my hand at making my own gift/treat bags...


They come together pretty simply and could be made out of any paper...magazine pages, scrapbook paper, newspaper, old sheet music, vintage maps, etc. I wanted to be able to make them food safe so I created the measurements around small and medium glassine bags (the tutorial gives measurements for the small size and measurements for the medium size are in parentheses).

Cut a piece out of your paper of choice that measures 7 1/2" W X 6" H (10 1/2" W X 8 1/4" H).

Put paper on a flat surface right side up. Measure in 2 1/8" (2 5/8") on one side and 1 7/8" (2 7/8") on the other side making a light mark with a pencil at these spots.


Turn paper over and fold in at those marks.


Glue selvages together with a glue stick.


Cut off the top edge of what will be the bag with a decorative scissor.


Lay paper down right side up. Measure 1" from the bottom edge and make a light mark with a pencil.


Flip the bag over and fold over at that mark.


Unfold. Then, fold both corners in towards the just creased line.


Fold bottom of bag up to creased lined.


Glue along this just folded area.


Fold the bottom of the bag up towards itself and press until the glue has set a bit.


All done!


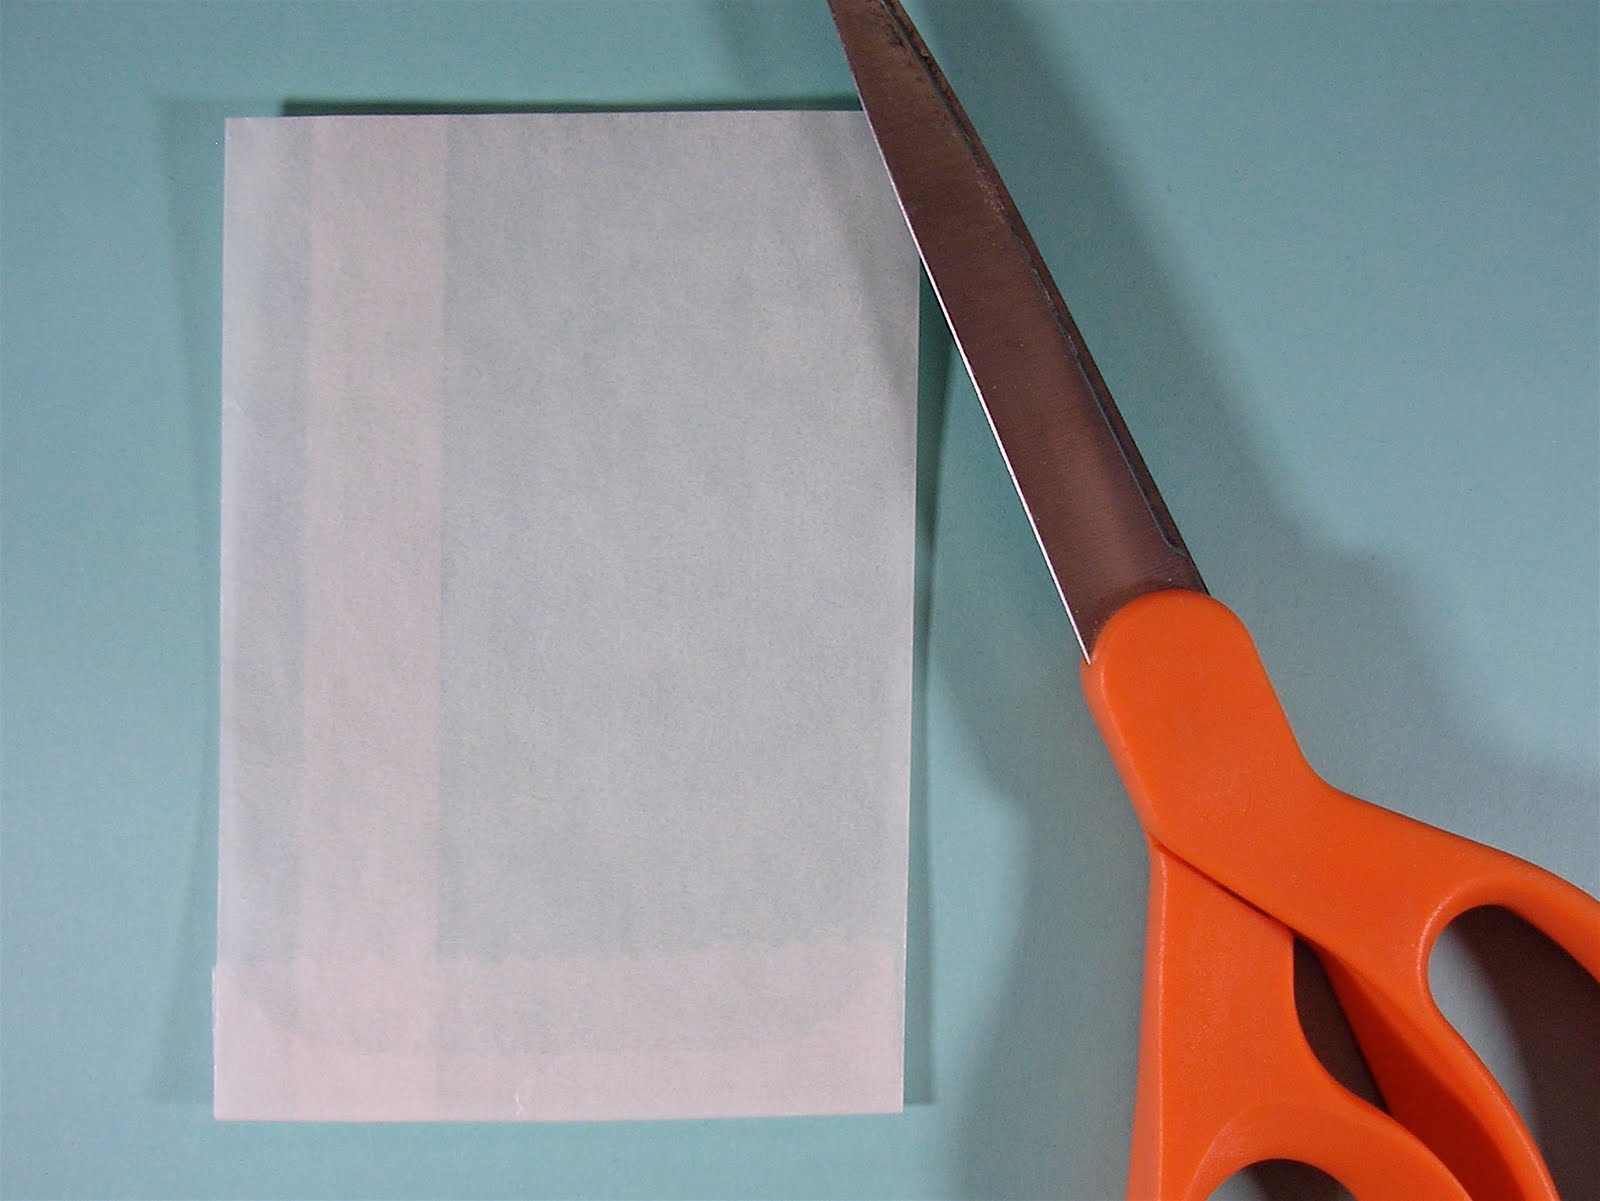
If you'd like to make your bags food safe as well, get small or medium glassine bags.


And, cut the tops off so the front is even with the back.


Insert the glassine bag into your just created paper bag and it is is now ready to fill with a tasty treat!

ideas for using the abc paper cups

Joa has some cute ideas on how she has used the abc paper cups...

for a pretty window garden...


As gift packaging by filling with treats, wrapping in cellophane, and tying with bakers twine...


She used the recipient's initial to personalize it. Very cute!

in the tv room...

flash card gift box

An mathematical flashcard box is transformed into a unique gift box when emptied of the flashcards, filled with fluffed up orange tissue paper, and tied with a coordinating argyle bow...